# Clickhouse

ClickHouse is a column-oriented database management system built for fast analytical queries on large volumes of data.

Through this integration, Apono helps you discover ClickHouse resources and securely manage just-in-time (JIT) access to them.

***

### Prerequisites

<table><thead><tr><th width="258">Item</th><th>Description</th></tr></thead><tbody><tr><td><strong>Apono Connector</strong></td><td><p>On-prem connection serving as a bridge between a ClickHouse instance and Apono:</p><ul><li><a href="/pages/U4HFH35XWDo3jyqhJqgQ">AWS</a></li><li><a href="/pages/ztAsRPKJcMNxeQKE2GNB">Azure</a></li><li><a href="/pages/xPrzAcLGsoliEpPJuozp">GCP</a></li><li><a href="/pages/p5PzUV4THznqePSTYgEH">Kubernetes</a></li></ul><p><strong>Minimum Required Version</strong>: 1.7.6<br><br>Learn how to update an existing <a href="/pages/cNMceTvopbZdVqebcrk5">AWS</a>, <a href="/pages/qX1nxTxfqQ683NIJVRn5">Azure</a>, <a href="/pages/TmT0CXNeTeCE9vImZPl4">GCP</a>, or <a href="/pages/PGql18C6xhmOlcwdDh6b">Kubernetes</a> connector.</p></td></tr><tr><td><strong>ClickHouse Access Control Enabled</strong></td><td>ClickHouse 20.x or later with <a href="https://clickhouse.com/docs/operations/access-rights#enabling-access-control">SQL-driven access control and account management</a> enabled</td></tr><tr><td><strong>ClickHouse Instance Information</strong></td><td><p>Information for the database instance to be integrated:</p><ul><li>Hostname</li><li>Port</li></ul></td></tr></tbody></table>

***

### Create a ClickHouse user

You must create a user in your ClickHouse instance for the Apono connector and grant it the required permissions.

Follow these steps to create a user and grant it database permissions:

1. In ClickHouse, create a new user. Use *apono\_admin* or another name of your choosing for the username. Be sure to set a strong password for the user.

```sql
CREATE USER apono_admin IDENTIFIED WITH sha256_password BY '<strong_password>'; 
```

2. Grant the new user the privileges of the current user `WITH GRANT OPTION`. This allows the Apono user to inherit the privileges of the administrative user running the command.

{% hint style="info" %}
The Apono user needs the following privileges to enable Apono to discover resources and manage JIT access to your ClickHouse resources:

* `SELECT` on `system.databases`, `system.tables`, and `system.dictionaries`
* `CREATE USER`, `ALTER USER`, and `DROP USER`
* `CREATE ROLE` and `DROP ROLE`
* `GRANT OPTION` on managed databases
* `SHOW` privileges, including `SHOW DATABASES`, `SHOW TABLES`, `SHOW COLUMNS`, and `SHOW DICTIONARIES`
  {% endhint %}

```sql
GRANT CURRENT GRANTS ON *.* TO apono_admin WITH GRANT OPTION;  
```

3. Verify that the Apono user has the required privileges listed in the note of step **2**.

```shellscript
SHOW GRANTS FOR apono_admin;
```

4. [Create a secret](/docs/connectors-and-secrets/apono-integration-secret.md) with the credentials from step **1**.\
   \
   Use the following key-value pair structure when generating the secret. Be sure to replace `#PASSWORD` with the actual value. If you used a different name for the user, replace `apono-admin` with the name you assigned to the user.

```
"username": "apono-admin",
"password": "#PASSWORD"
```

{% hint style="success" icon="lightbulb" %}
You can also input the user credentials directly into the Apono UI during the [integration process](#integrate-clickhouse).
{% endhint %}

***

### Manage materialized views

If your ClickHouse environment uses materialized views, review their access mode and write requirements before integrating ClickHouse with Apono.

#### Access control

ClickHouse materialized views support two security modes that determine how permissions are evaluated when a user queries the view.

<table><thead><tr><th width="167.2421875">View</th><th>Description</th></tr></thead><tbody><tr><td><strong>DEFINER</strong></td><td><p>(<strong>Recommended</strong>) Runs with the permissions of the user who created the view</p><p><br>The querying user only needs the <code>SELECT</code> permission on the view.</p></td></tr><tr><td><strong>INVOKER</strong></td><td><p>Runs with the permissions of the querying user</p><p><br>The querying user must have the <code>SELECT</code> permission on <strong>both</strong> the view and its underlying source tables. Otherwise, the query fails with <code>ACCESS_DENIED</code>.</p></td></tr></tbody></table>

Follow these steps to update a materialized view:

1. Run the following query to review materialized views.

```shellscript
SELECT name, create_table_query FROM system.tables WHERE engine = 'MaterializedView';
```

{% hint style="info" %}
If the `create_table_query` output does not contain `SQL SECURITY DEFINER`, the materialized view uses `INVOKER` mode.
{% endhint %}

2. If the materialized view uses `INVOKER` mode, update the mode to `DEFINER` mode.

```shellscript
ALTER TABLE <database>.<view_name> MODIFY SQL SECURITY DEFINER;
```

#### WRITE access

When requesting `WRITE` access to a materialized view, users must also have `READ` access on the source table or tables referenced in the view query.

ClickHouse **requires** access to the source tables when executing `ALTER TABLE <database>.<view_name> MODIFY QUERY`. Without it, the WRITE permission is granted but cannot be used.

You can now [integrate your ClickHouse instance](#integrate-clickhouse).

***

### Integrate ClickHouse

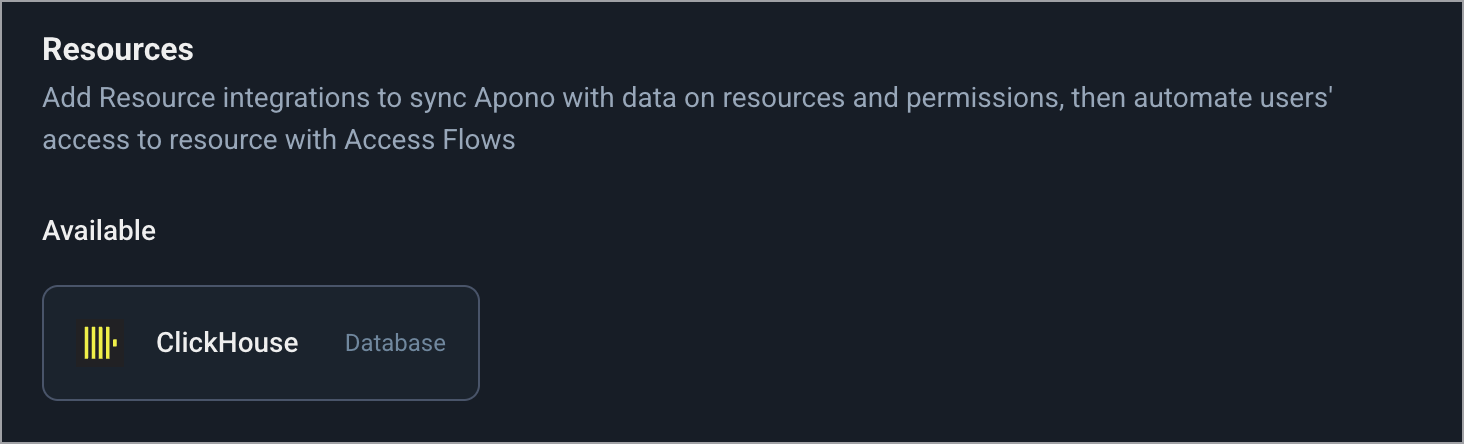
<figure><img src="/files/5FfjQBEV5bRyfs4tk3OE" alt="" width="563"><figcaption><p>ClickHouse tile</p></figcaption></figure>

{% hint style="success" %}
You can also use the steps below to integrate with Apono using Terraform.

In step **11**, instead of clicking **Confirm**, follow the **Are you integrating with Apono using Terraform?** guidance.
{% endhint %}

Follow these steps to complete the integration:

1. On the [**Catalog**](https://app.apono.io/catalog?search=mysql) tab, click **ClickHouse**. The **Connect Integration** page appears.
2. Under **Discovery**, select one or more resources
3. Click **Next**. The **Apono connector** section appears.
4. From the dropdown menu, select a connector. Choosing a connector links Apono to all the services available on the account where the connector is located.

{% hint style="success" %}
If the desired connector is not listed, click **+ Add new connector** and follow the instructions for creating a connector ([AWS](/docs/aws-environment/apono-connector-for-aws.md), [Azure](/docs/azure-environment/apono-connector-for-azure.md), [GCP](/docs/gcp-environment/apono-connector-for-gcp.md), [Kubernetes](/docs/kubernetes-environment/apono-connector-for-kubernetes.md)).
{% endhint %}

5. Click **Next**. The **Integration Config** section expands.
6. Define the **Integration Config** settings.

   <table><thead><tr><th width="229">Setting</th><th>Description</th></tr></thead><tbody><tr><td><strong>Integration Name</strong></td><td>Unique, alphanumeric, user-friendly name used to identify the integration when constructing an access flow</td></tr><tr><td><strong>Hostname</strong></td><td>ClickHouse server address</td></tr><tr><td><strong>Native Port</strong></td><td>Port value for the instance<br><br><strong>Default Value</strong>: <em>9000</em></td></tr><tr><td><strong>HTTP Port</strong></td><td><p>HTTP port value used by the chosen database client</p><p><strong>Default Value:</strong> <em>8123</em></p></td></tr><tr><td><strong>Enable Secure Connection</strong></td><td><p>Enables a connection to the ClickHouse server based on Transport Layer Security (TLS)</p><p><br><strong>Default Value</strong>: <em>false</em></p></td></tr><tr><td><strong>Skip Certification Verification</strong></td><td><p>Skips validation of the server’s TLS certificate</p><p>This is intended for use with self-signed certificates, debugging, or in testing environments.</p><p><br><strong>Default Value</strong>: <em>false</em></p></td></tr><tr><td><strong>Cluster Name</strong></td><td>(Optional) Name of the cluster to integrate<br><br>Specify the cluster name only when using a multi-server cluster setup. Leave blank for standalone setups.</td></tr><tr><td><strong>Database</strong></td><td><p>(Optional) Name of the database to integrate</p><p><br><strong>Default Value</strong>: <em>default</em></p></td></tr></tbody></table>
7. Click **Next**. The **Secret Store** section expands.
8. [Associate the secret or credentials](/docs/connectors-and-secrets/apono-integration-secret.md).

{% hint style="info" %}
If you select the **Apono** secret manager, enter the value of the username and password for the ClickHouse Apono user.
{% endhint %}

9. Click **Next**. The **Get more with Apono** section expands.
10. Define the **Get more with Apono** settings.

    <table><thead><tr><th width="231">Setting</th><th>Description</th></tr></thead><tbody><tr><td><strong>Credential Rotation</strong></td><td>(Optional) Number of days after which the database credentials must be rotated<br><br>Learn more about the <a href="/pages/UsMtClaCM1SlvPsARUsM">Credentials Rotation Policy</a>.</td></tr><tr><td><strong>User cleanup after access is revoked (in days)</strong></td><td><p>(Optional) Defines the number of days after access has been revoked that the user should be deleted</p><p><br>Learn more about <a href="/pages/zJwQEG15iEhbPYg9hpqp">Periodic User Cleanup &#x26; Deletion</a>.</p></td></tr><tr><td><strong>Custom Access Details</strong></td><td>(Optional) Instructions explaining how to access this integration's resources<br><br>Upon accessing an integration, a message with these instructions will be displayed to end users in the User Portal. The message may include up to <strong>400 characters</strong>.<br><br>To view the message as it appears to end users, click <strong>Preview</strong>.</td></tr><tr><td><strong>Integration Owner</strong></td><td><p>(Optional) Fallback approver if no <a href="/pages/Ey4wuziyr2BzKYQnd5am">resource owner</a> is found<br><br>Follow these steps to define one or several integration owners:</p><ol><li>From the <strong>Attribute</strong> dropdown menu, select <strong>User</strong> or <strong>Group</strong> under the relevant identity provider (IdP) platform.</li><li>From the <strong>Value</strong> dropdown menu, select one or multiple users or groups.</li></ol><p><br><strong>NOTE</strong>: When <strong>Resource Owner</strong> is defined, an <strong>Integration Owner</strong> must be defined.</p></td></tr><tr><td><strong>Resource Owner</strong></td><td><p>(Optional) Group or role responsible for managing access approvals or rejections for the resource<br><br>Follow these steps to define one or several <a href="/pages/Ey4wuziyr2BzKYQnd5am">resource owners</a>:</p><ol><li>Enter a <strong>Key name</strong>. This value is the name of the tag created in your cloud environment.</li><li>From the <strong>Attribute</strong> dropdown menu, select an attribute under the IdP platform to which the key name is associated.<br><br>Apono will use the value associated with the key (tag) to identify the resource owner. When you update the membership of the group or role in your IdP platform, this change is also reflected in Apono.</li></ol><p><br><strong>NOTE</strong>: When this setting is defined, an <strong>Integration Owner</strong> must also be defined.</p></td></tr></tbody></table>
11. Click **Confirm**.

<details>

<summary>💡Are you integrating with Apono using Terraform?</summary>

If you want to integrate with Apono using Terraform, follow these steps instead of clicking **Confirm**:

1. At the top of the screen, click **View as Code**. A modal appears with the completed Terraform configuration code.
2. Click to copy the code.
3. Make any additional edits.
4. Deploy the code in your Terraform.

Refer to [Integration Config Metadata](https://docs.apono.io/metadata-for-integration-config/integration-metadata/clickhouse) for more details about the schema definition.

</details>

***

### Usage

Now that the integration is complete, you can add ClickHouse to define the resources in an access flow. This allows requesters to access ClickHouse resources securely based on your approval and provisioning rules.

Follow the guidance in these articles to define the resource using ClickHouse:

* [Define the resource (Self Serve Access Flows)](https://docs.apono.io/docs/access-flows/creating-access-flows-in-apono/self-serve-access-flows#define-the-resource)
* [Define the resource (Automatic Access Flows)](https://docs.apono.io/docs/access-flows/creating-access-flows-in-apono/automatic-access-flows#define-the-resource)


---

# Agent Instructions: Querying This Documentation

If you need additional information that is not directly available in this page, you can query the documentation dynamically by asking a question.

Perform an HTTP GET request on the current page URL with the `ask` query parameter:

```
GET https://docs.apono.io/docs/additional-integrations/databases-and-data-repositories/clickhouse.md?ask=<question>
```

The question should be specific, self-contained, and written in natural language.
The response will contain a direct answer to the question and relevant excerpts and sources from the documentation.

Use this mechanism when the answer is not explicitly present in the current page, you need clarification or additional context, or you want to retrieve related documentation sections.