Datadog (On-Call)
Integrate with Datadog to manage access during incident response
Datadog is a monitoring and observability platform that also supports incident response and on-call workflows.
Through this integration, Apono reads on-call schedules and rotations from Datadog so access can be granted or reviewed in the context of an active incident.
This integration does not manage Datadog users or roles. To create an integration to manage membership in Datadog roles, see Datadog.
Prerequisites
Apono Connector
On-prem connection serving as a bridge between your Datadog instance and Apono:
Learn how to update an existing AWS, Azure, GCP, or Kubernetes connector.
Datadog Account Access
Datadog account that can create API and application keys scoped for on-call data No user-management permissions are required for this integration.
Datadog Site
Datadog site that hosts your organization
Possible values:
(Default) US1 (datadoghq.com)
AP1 (ap1.datadoghq.com)
AP2 (ap2.datadoghq.com)
EU1 (datadoghq.eu)
US3 (us3.datadoghq.com)
US5 (us5.datadoghq.com)
NOTE: Government (FED) sites are not supported.
Create connector credentials
To enable Apono to read Datadog on-call teams, schedules, escalation policies, and overrides, you must create an API key and a scoped application key in Datadog.
Follow these steps to create the credentials:
In Datadog, on the Service Accounts page, create a service account for Apono.
Assign the service account a custom role with the On-Call Read (on_call_read) permission. This enables Apono to view on-call teams, schedules, escalation policies, and overrides.
For the service account, create an API key and copy its value.
For the same service account, create an application key and copy its value.
Under Scopes, grant only on_call_read.
Create a secret with the credentials from steps 2 and 3.
Use the following key-value pair structure when generating the secret. Be sure to replace
<API_KEY>and<APPLICATION_KEY>with the actual values.
You can also input the user credentials directly into the Apono UI during the integration process.
Integrate Datadog

You can also use the steps below to integrate with Apono using Terraform.
In step 11, instead of clicking Confirm, follow the Are you integrating with Apono using Terraform? guidance.
Follow these steps to complete the integration:
On the Catalog tab, click Datadog. The Connect Integration page appears.
Under Discovery, click Next. The Apono connector section expands.
From the dropdown menu, select a connector. Choosing a connector links Apono to all the services available on the account where the connector is located.
If the desired connector is not listed, click New Connector and follow the instructions for creating a connector (AWS, Azure, GCP, Kubernetes).
Click Next. The Integration Config section expands.
Define the Integration Config settings.
SettingDescriptionIntegration Name
Unique, alphanumeric, user-friendly name used to identify the integration when constructing an access flow
Datadog Site
Datadog site that hosts your organization
Select the site that matches the domain you use to sign in to Datadog.
Click Next. The Secret Store section expands.
Click Next. The Get more with Apono section expands.
Define the Get more with Apono settings.
SettingDescriptionCustom Access Details
(Optional) Instructions explaining how to access this integration's resources Upon accessing an integration, a message with these instructions will be displayed to end users in the User Portal. The message may include up to 400 characters. To view the message as it appears to end users, click Preview.
Integration Owner
(Optional) Fallback approver if no resource owner is found Follow these steps to define one or several integration owners:
From the Attribute dropdown menu, select User or Group under the relevant identity provider (IdP) platform.
From the Value dropdown menu, select one or multiple users or groups.
NOTE: When Resource Owner is defined, an Integration Owner must be defined.
Resource Owner
(Optional) Group or role responsible for managing access approvals or rejections for the resource Follow these steps to define one or several resource owners:
Enter a Key name. This value is the name of the tag created in your cloud environment.
From the Attribute dropdown menu, select an attribute under the IdP platform to which the key name is associated. Apono will use the value associated with the key (tag) to identify the resource owner. When you update the membership of the group or role in your IdP platform, this change is also reflected in Apono.
NOTE: When this setting is defined, an Integration Owner must also be defined.
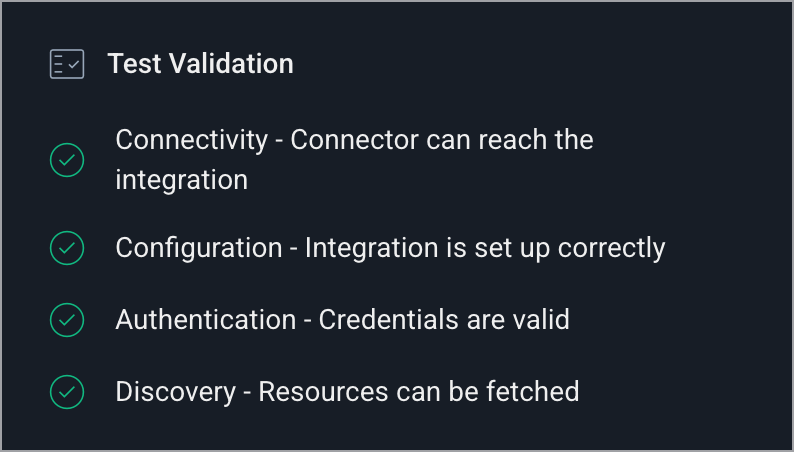
(Recommended) Click Test Integration to validate the integration.
Click Confirm.
Usage
Use Datadog on-call schedules and rotations in access flows so access eligibility and approvals follow the current on-call assignment:
Set access eligibility: Allow current on-call engineers to request access or receive it automatically.
Define approvers: Route access requests to current on-call engineers.
For setup instructions, see:
Self Serve Access Flows: Define permitted requestors and define the approval process
Automatic Access Flows: Define permitted users
Last updated
Was this helpful?