Jira
Create an outgoing webhook in Apono that will allow to automatically create issues in Jira from Apono access requests
The steps below describe how to create an outgoing webhook in Apono that will allow to automatically create issues in Jira from Apono access requests.
Create Jira ticket triggered by Apono webhook
You can automatically create and resolve issues in Jira via outgoing webhooks. This guide provides example webhook configurations for common use cases, as well as information on how to set up a user in Jira to be used by Apono.
Prerequisites
- A user in Jira to be used by Apono. You'll need the user's email address.
- An API token for this user. These credentials will be used to communicate with Jira REST API.
- Make sure the user has appropriate permissions to create and update issues in Jira.
What are Jira Basic tokens?
Read more here
Creating the webhook
- On the Webhooks page, click Add Webhook. The Add Webhook page appears.
- Enter a unique, alphanumeric, user-friendly Name for identifying this webhook.
- Click the Status toggle to Active.
- From the Method dropdown menu, select a REST method. Apono supports
POST,PUT, andDELETE. - In the URL field, enter https://<DOMAIN>.atlassian.net/rest/api/3/issue.
Be sure to replace<DOMAIN>with your Jira domain.
The webhook URL must adhere to the following requirements:
- Uses the HTTPS protocol
- Does not specify any custom ports
- In the Body Template field, construct a JSON body for the webhook payload.
{ "fields": { "project": { "key": "<PROJECT_KEY>" }, "issuetype": { "name": "<ISSUE_TYPE_NAME>" }, "summary": "Apono request created: {{ data.friendly_id }}" } }Click View event's payload schema to reveal the payload schema and available data fields. You can also refer to the Webhook Payload Schema Reference to read the descriptions of each data field.
-
Under Headers, use the following Key and Value to set the headers required by the target system, such as an authorization header.
Key Value Authorization Basic <USERNAME:TOKEN>
The username is the user's email and token is the personal API token required in Prerequisites 1 and 2.<USERNAME:TOKEN>must be supplied in base64 encoding.
- From the Triggers dropdown menu, select one or more of the following event triggers, which correspond to Apono access request statuses:
- RequestCreated
- RequestApproved
- RequestRejected
- RequestGranted
- RequestExpired
- RequestFailed
- Manual
- Under Filters, define one or several filter from the listed dropdown menus.
- Click Test to generate a test event to trigger your webhook. A Test successful or Test failed response status will appear at the bottom of the page. A successful test will create a ticket in your Jira project with mock data.
For more information about the test, click View Invocation Data. A panel opens revealing the request, response, and other relevant details.
Should your test fail, view these tips to troubleshoot your webhook.
- Click Save Webhook.
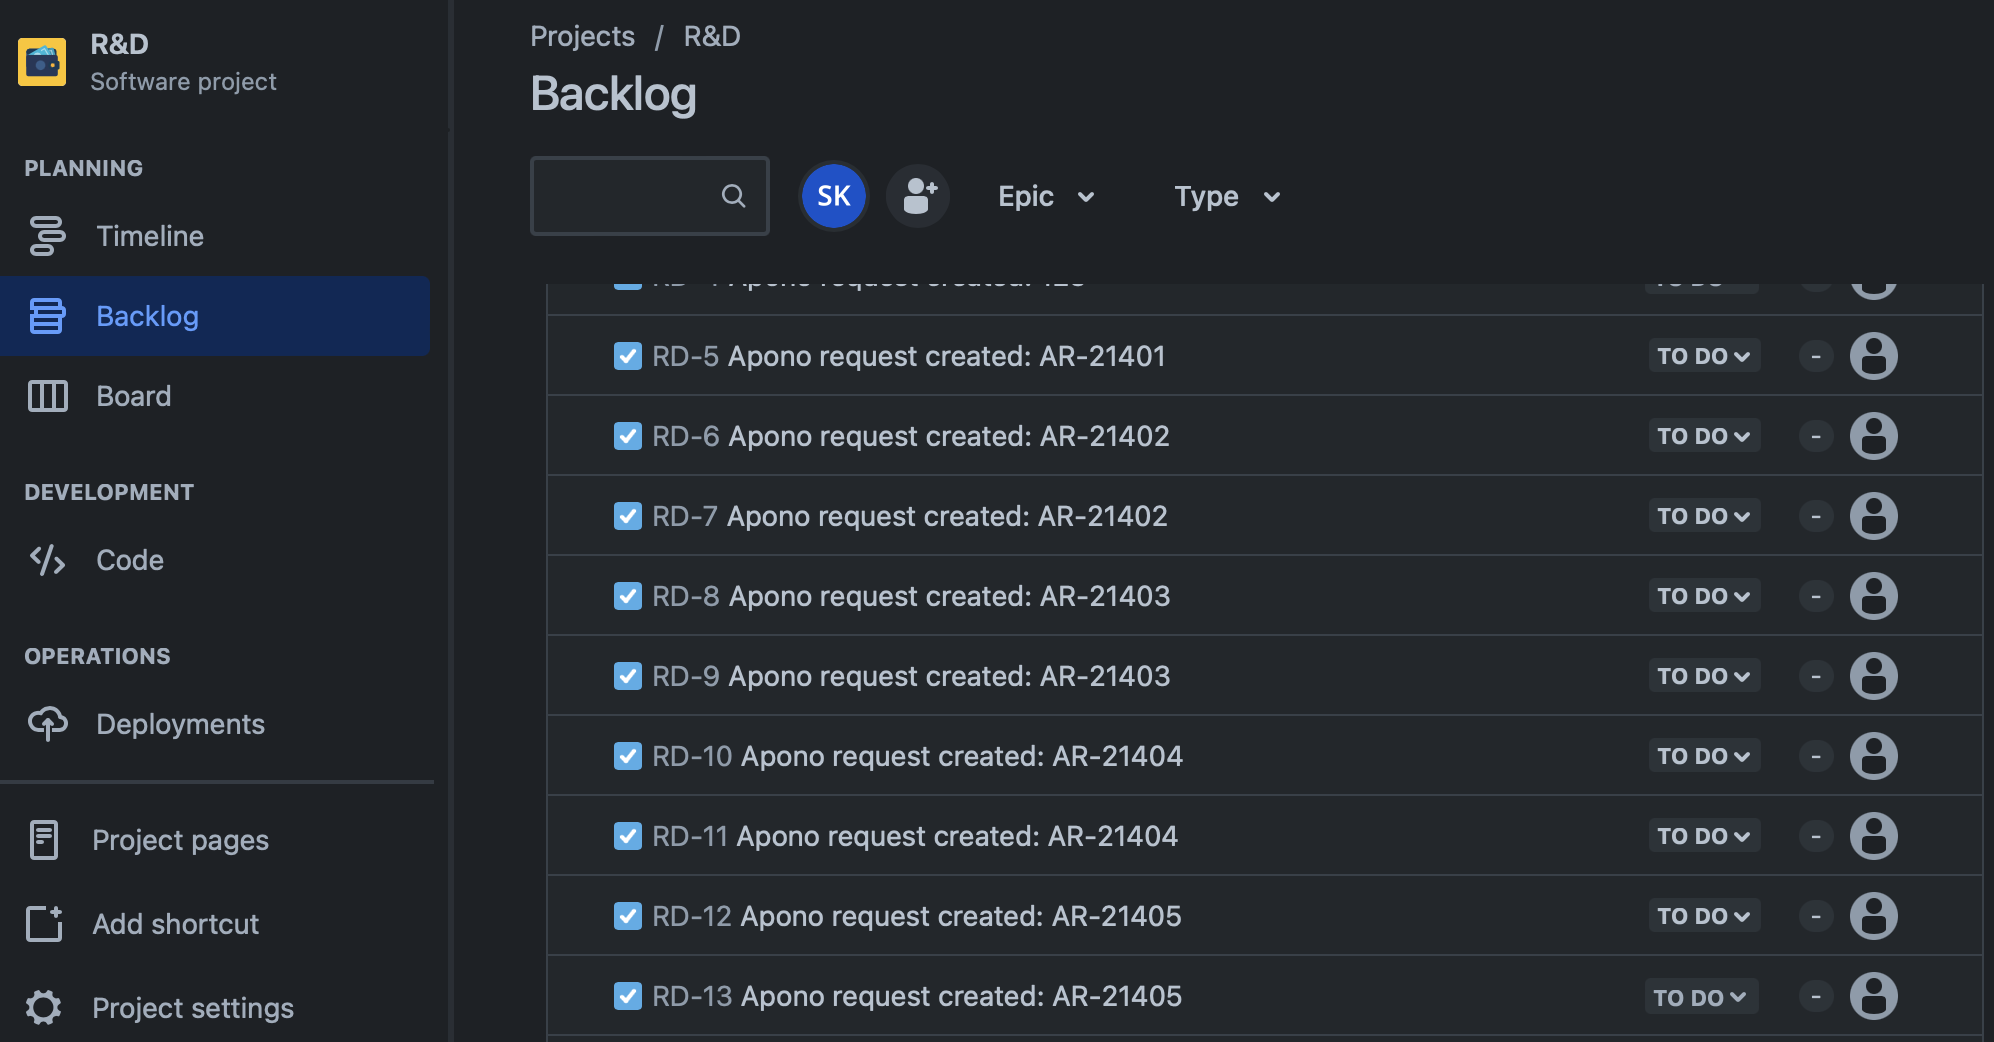
Results
Your webhook should now start creating Jira tickets in the relevant project once triggered:

Updated about 2 months ago